Quick answer
Identify your basket before changing your espresso recipe. A pressurized basket or portafilter adds a restriction to the outlet, making it more accommodating of preground coffee. A non-pressurized basket relies more on correctly ground, distributed and tamped coffee to resist water flow. Your basket therefore changes what grinder you need and how you troubleshoot a shot. Start with its documented dose range, weigh the espresso you collect, and treat time as a diagnostic—not a universal pass mark. (flairespresso.com)
1. Identify the basket from underneath, then confirm it
Start with the machine’s model number and manual. Once the portafilter is cool and safe to handle, remove the basket only as the manufacturer instructs and compare its underside with the manual’s illustrations.
On the Breville Bambino BES450 baskets illustrated in its manual:
- Single-wall baskets have a field of small outlet holes.
- Dual-wall baskets have a largely closed underside with a small outlet and a “DUAL WALL” marking.
The manual associates single-wall baskets with freshly ground beans and dual-wall baskets with preground coffee. These are model-specific identification clues, not a guarantee that every manufacturer uses the same appearance. (breville.com)
Do not stop at looking inside: both designs can have a perforated surface where the coffee sits. Check the underside, markings and documentation together.
Also distinguish capacity from construction. “Single” and “double” can describe serving size; “single-wall” and “dual-wall” describe basket construction. A double-capacity basket can be either type, as the Bambino illustrations demonstrate. (breville.com)
If the manual and basket do not match, pause. Ask the manufacturer to identify the accessory rather than guessing from its diameter or the machine’s brand.
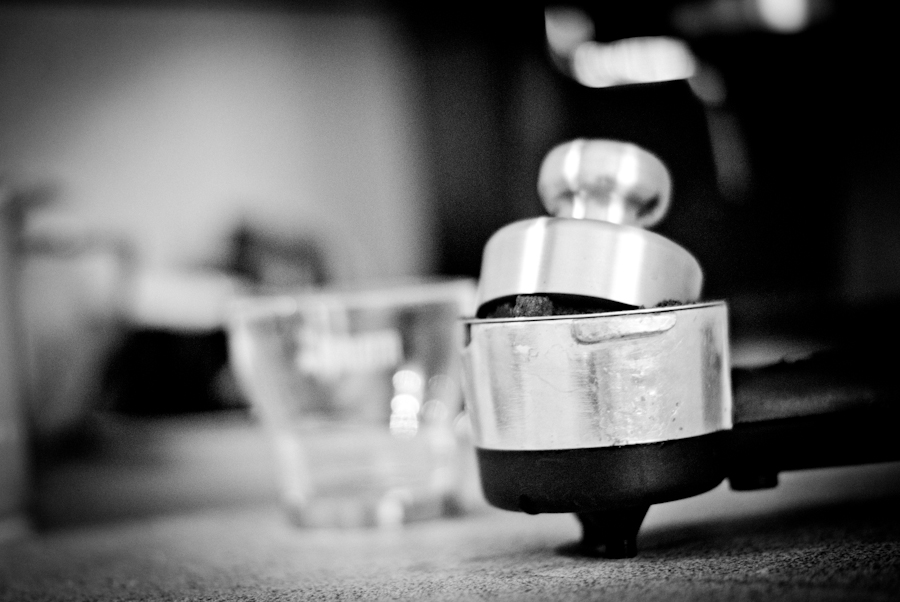

2. Understand what the outlet changes
In a pressurized system, an outlet restriction helps create resistance even when the grounds are relatively coarse or inconsistent. In a non-pressurized system, the prepared coffee bed must provide the necessary resistance. That makes grind size, distribution and tamping more consequential. (flairespresso.com)
The practical difference is where to focus your effort:
| Your setup | Useful starting approach |
|---|---|
| Pressurized basket with preground coffee | Follow its dose and preparation instructions; measure beverage yield before chasing a shot-time target. |
| Non-pressurized basket with an espresso-capable grinder | Keep dose and yield consistent while making small grind adjustments. |
| Basket type unknown | Identify it before buying accessories or copying another person’s settings. |
A non-pressurized workflow needs more than a grinder that merely produces fine-looking grounds. Small adjustments matter. Baratza’s Encore ESP manual, for example, distinguishes its closely spaced espresso adjustments from its larger filter-range adjustments. Its starting settings are explicitly adjustable according to recipe and taste. (assets.breville.com)
Pressurized equipment is not something you must immediately replace. It can be the appropriate choice when you want to use preground coffee. Switching baskets makes sense when you want more control and have the equipment to use that control. Flair’s guidance makes this distinction between its Flow Control and non-pressurized systems. (support.flairespresso.com)
3. Choose a dose for your actual basket
An online recipe’s dose is not automatically your basket’s dose.
For example, the Bambino BES450 manual lists 8–11 g for its supplied one-cup baskets and 16–19 g for its supplied two-cup baskets. Those ranges do not establish what fits another machine or an aftermarket basket. (breville.com)
Even two baskets supplied with the same machine can have different ranges. The Flair 49 PRO manual specifies:
- Pressurized basket: 10–15 g.
- Non-pressurized basket: 14–20 g. (flairespresso.com)
Before brewing, make a short setup note:
- Machine model and market version.
- Basket name or part number.
- Pressurized or non-pressurized construction.
- Documented dose range.
- Manufacturer’s fill-level or preparation check.
Choose a starting dose inside that range, then follow the specified fill check. Do not force an oversized dose into a smaller basket simply because a popular recipe uses it.
Before buying a replacement, seek explicit compatibility confirmation for your machine and portafilter. Treat an unverified fit as unknown—not as a problem to solve by forcing parts together.
4. Measure coffee in and espresso out
For espresso, a brew ratio compares dry coffee mass with finished espresso mass. It does not compare the grounds with all the water placed in the reservoir or brew chamber. La Marzocco’s brew-ratio guide explains this distinction and recommends weighing both ingredients.
For an illustrative 1:2 recipe:
18 g dry coffee × 2 = 36 g espresso in the cup
That calculation sets an endpoint; it does not prove that the drink will taste balanced.
Put the cup on a scale that fits securely beneath the outlet and tare it before brewing. Record the final mass, including any drips that arrive after you stop. Use the machine’s documented stopping procedure.
Keep a simple log:
| Basket | Dose | Yield | Time convention | Taste | Next change |
|---|---|---|---|---|---|
| Exact basket name | Measured grams | Measured grams | Start event → stop event | Your description | One variable |
Record whether you time from the button press, first contact with water or first visible coffee. That makes your own comparisons meaningful.
5. Example workflow: pressurized basket and preground coffee
Example equipment: Flair 49 PRO with its supplied pressurized basket.
This is an illustrative starting workflow, not a tested recipe or a manufacturer flavor guarantee. Its 12 g dose falls within Flair’s documented 10–15 g range; 24 g yield is a proposed 1:2 endpoint.
- Complete the manual’s assembly and safety checks. Prepare a scale and cup.
- Add 12 g preground coffee, tamp as instructed and place the dispersion screen on top.
- Preheat the brew cylinder using the manual’s boiling-water procedure, including its 45-second wait and water-disposal step.
- Attach the portafilter and fill the cylinder using the documented sequence. The manual calls for boiling water; the brew-water fill is not the beverage yield.
- Brew while following Flair’s pressurized-basket guidance of roughly 5 bar, collecting approximately 24 g.
- Record actual dose, final yield, elapsed time and taste. Follow the complete pressure-release procedure before disassembly. (flairespresso.com)
For the next attempt, keep the coffee and dose unchanged. Compare a different beverage yield only after you have a repeatable baseline. With preground coffee, you cannot make the same between-shot grind adjustments available to someone grinding each dose.
6. Example workflow: non-pressurized basket and fresh grinding
Example equipment: Breville Bambino BES450 with its supplied two-cup single-wall basket and an espresso-capable grinder.
Use 18 g in and 36 g out as an illustrative starting recipe. The dose is within the manual’s documented range; the yield is an editorial starting point, not Breville’s prescribed optimum. (breville.com)
- Follow the machine’s startup routine and specified short group-head flush.
- Grind and weigh the dose. Prepare the basket consistently: distribute the coffee and tamp level.
- Place a tared cup on the scale. Leave the machine’s automatic temperature control unchanged.
- Start brewing using the documented controls. Stop near the target yield, then record the final mass. The BES450 manual permits stopping a programmed extraction by pressing the corresponding cup button. (breville.com)
- Taste and record the result before adjusting anything.
If the target yield arrives much faster than expected and the drink needs improvement, try a slightly finer grind while holding dose and yield steady. If flow is excessively slow, try slightly coarser. Make adjustments according to the grinder’s instructions; adjustment procedures are model-specific. (flairespresso.com)
Do not copy a grinder number from a different model. Use its own starting guidance, then adjust for your coffee.
7. Use shot time as a clue, not the destination
“Thirty seconds” is incomplete advice without a basket, dose, yield and timing convention.
La Marzocco’s brew-ratio lesson gives 25–35 seconds as a typical espresso range. Flair’s 49 PRO manual separately suggests roughly 20 seconds for its pressurized basket. These are contextual starting points, not interchangeable rules. (flairespresso.com)
The practical lesson is straightforward: do not grind finer solely to make a pressurized shot resemble someone else’s non-pressurized timing.
Instead, ask:
- Did I use a suitable dose?
- Did I collect the intended beverage mass?
- Did I time it the same way as last time?
- Did the change improve the drink?
If a shot tastes good and repeats reliably, a stopwatch alone is not a reason to change it. If it tastes unpleasant, use timing alongside your measurements to choose the next experiment.
8. Troubleshoot without changing everything
Use this order before blaming the machine:
Confirm the basket.
Make sure the recipe assumes the construction you actually have.
Confirm dose and yield.
Compare measured quantities, not “one scoop” and “one double.”
Inspect and clean as instructed.
A restricted outlet can clog. Flair provides different cleaning guidance for different generations of its Flow Control portafilter, so use instructions for the exact version. Do not enlarge an outlet or remove pressure-control parts as a brewing shortcut. (support.flairespresso.com)
Change one variable.
For non-pressurized brewing, begin with a small grind adjustment while keeping dose and yield stable. Record whether it helps rather than changing grind, dose and beverage size together.
Do not judge by crema alone.
Pressurized systems can aerate the stream to enhance crema. A foamy surface therefore does not establish that your recipe is well dialed in. (flairespresso.com)
Finally, stop if the machine leaks, behaves abnormally or cannot complete the documented workflow safely. Follow its pressure-release instructions and seek manufacturer support instead of attempting pressure modifications.
Your first goal is not a perfect-looking shot. It is a known basket, a suitable dose and a repeatable measurement—then one useful change at a time.