Quick answer
For a standard Bialetti Moka Express, fill the base with cold water to the lower edge of the safety valve, fill the basket loosely with moka-ground coffee, and do not tamp. Brew over controlled heat and remove the pot promptly when brewing finishes—the first characteristic gurgle is your cue, not an invitation to keep boiling. Let the brewer cool completely before unscrewing it. Different designs can require different fill amounts, so check your model’s instructions. (bialetti.com)
1. Identify your model before choosing a recipe
This guide uses the standard aluminium Bialetti Moka Express, with a three-cup version as the recipe example. Do not assume that another brewer’s “three-cup” label means the same water capacity or finished drink volume.
Moka cup labels describe small coffee servings, not US measuring cups or full mugs. Bialetti’s New Zealand specification table lists approximately 130 ml—about 4.4 US fl oz—of brewed coffee for its three-cup Moka Express. It explicitly describes that output as approximate, depending on the water, grind and coffee used. (bialetti.co.nz)
Check these details before starting:
- The model name and cup size.
- The manufacturer’s water-fill instruction.
- Whether your cooktop is compatible.
- Whether all original brewing components are present and undamaged.
The standard Moka Express works on gas and electric hobs; Bialetti specifies an induction plate for induction use. That does not mean every moka pot needs an adapter: induction-specific models have different construction and instructions. (bialetti.com)
Brikka is not simply another Moka Express size. Its manufacturer instructions use a supplied graduated measuring cup and a model-specific water quantity. Do not transfer the standard pot’s valve-level filling rule to it without checking its leaflet. (m.media-amazon.com)
2. Set the water level first, then measure it
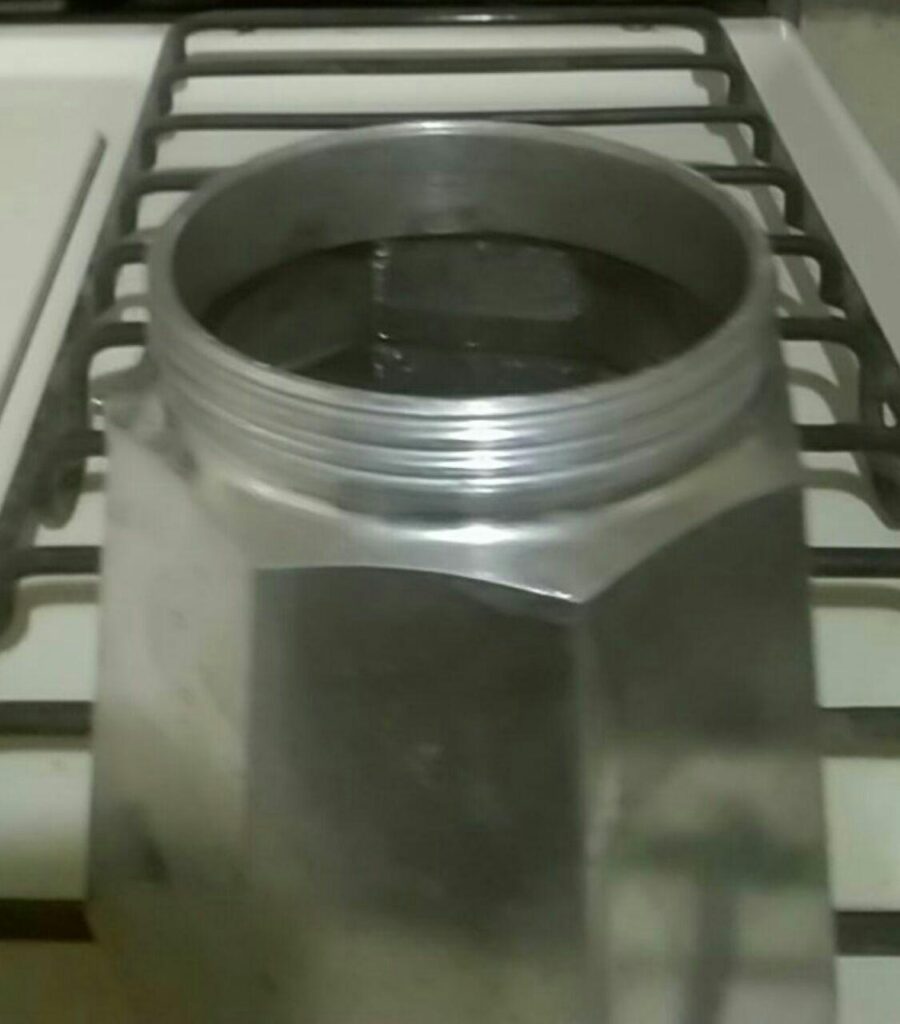
For the reference Moka Express, the precise instruction is to fill with cold water to the lower edge of the safety valve. Keep the valve above the water; do not submerge it to squeeze out a larger drink. Bialetti warns that covering the valve can interfere with its operation. (bialetti.com)
Use the physical fill limit as the deciding check. A number copied from a recipe must never override your brewer’s marked limit or manual.
Here is a starting plan for the three-cup reference model:
| Variable | Starting point |
|---|---|
| Water | The manual’s table lists 150 ml, about 5.1 US fl oz; confirm that this reaches, but does not exceed, the lower edge of your pot’s valve |
| Water temperature | Cold, as specified in the manual; no precise starting temperature is prescribed |
| Coffee quantity | One loosely filled, level basket; weigh that actual fill and record it |
| Grind | Moka-specific, coarser than espresso-machine grind |
| Heat | Low gas flame or a controlled electric setting below maximum |
| Approximate beverage output | 130 ml, about 4.4 US fl oz, according to the regional specification table |
| Timing | Bialetti’s regional guide suggests roughly 3–6 minutes, varying with size and heat; use the finish cue rather than forcing that time |
These are manufacturer-based starting instructions, not a tested guarantee of yield or flavor. (bialetti.com)
To make your recipe repeatable, weigh the water that reaches the correct level and save that reading. Recheck the level whenever you change pots.

3. Fill the basket without turning it into an espresso puck
Use coffee labeled for moka brewing, or begin with a medium-fine grind that is visibly granular rather than powdery. Bialetti’s guidance distinguishes moka grind from the finer grind used in professional espresso machines. Its regional guide describes the grounds as gritty to the touch, not powdery. (bialetti.com)
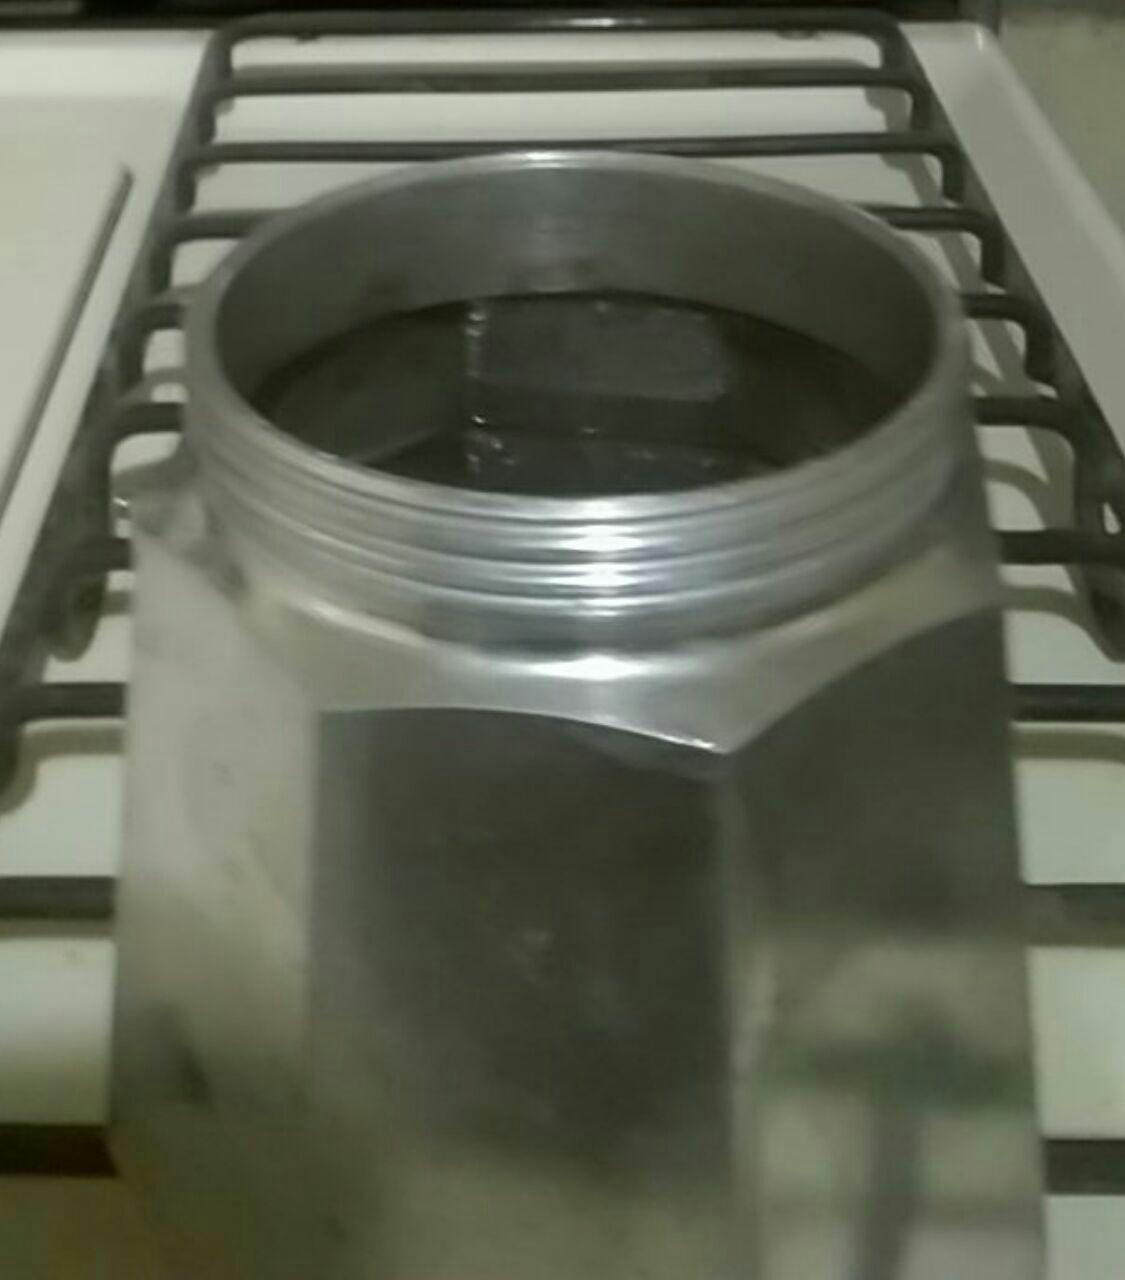
Spoon the grounds into the basket until level with the rim. Distribute them without pressing down. Avoid both a compressed puck and a mound that must be forced into the upper filter when you assemble the brewer. Bialetti specifically advises filling to the edge without creating a mound or tamping. (bialetti.com)
There is no universal coffee mass in the reference instructions. Rather than forcing an unsupported gram target into your basket:
- Weigh the clean, dry basket.
- Fill it loosely and level the grounds.
- Weigh it again.
- Subtract the empty-basket reading and record your dose.
Repeat this calibration when changing coffee or grind setting. The basket’s correct fill takes priority over achieving a chosen ratio.
A moka pot uses pressure to move water through coffee, but it is not an espresso machine. Trying to imitate espresso preparation by grinding extremely fine and tamping is the wrong approach: Bialetti identifies overly fine grounds and excessive compression as possible causes of restricted flow and abnormal pressure. (bialetti.com)
4. Assemble carefully and use controlled heat
Brush stray grounds from the sealing rim. Fit the funnel, filter plate and gasket correctly, then screw the two body sections together firmly without excessive force. Do not use the handle as a lever for tightening. (bialetti.com)
For heating:
- Gas: use a low flame that stays underneath the base rather than reaching up the sides.
- Electric or ceramic: avoid maximum power; the manual calls for a medium setting.
- All heat sources: stay with the brewer and keep the lid closed during brewing. (bialetti.com)
Start your timer when heating begins and note the burner setting. Treat those notes as information for the next brew, not targets that justify turning the heat up aggressively.
For this first recipe, keep the manufacturer’s cold-water start. Introducing preheated water would change another variable before you have established a baseline. Bialetti’s published guidance uses cold or room-temperature water rather than requiring a kettle-boiled start. (bialetti.com)
5. Remove the pot promptly, then let it cool completely
Bialetti’s product guidance identifies the characteristic gurgle as the signal to remove the Moka Express from the hob. Its manual says to remove the brewer when the upper collector is full. In practice, stay nearby and take it off promptly at the normal end of brewing; do not leave it boiling while waiting for more coffee. (bialetti.com)
That finishing sound comes from steam escaping into the upper chamber as the water in the base runs low. It is different from steam escaping through the side-mounted safety valve. (bialetti.com)
Place the pot on a stable, heat-resistant surface. Stir the finished coffee before serving, as the manual recommends. Let the brewer cool completely before opening it for cleaning or another batch; there is no universal number of minutes that replaces that requirement. (bialetti.com)
Do not loosen the joint to release pressure, press the valve while hot, or treat a comfortable handle temperature as proof that the base is cool.
Also, do not try to cook the lower chamber dry. Bialetti explains that a small amount of water remaining in the base after brewing is normal. (bialetti.com)
6. Judge the drink and change one variable next time
Begin by separating concentration from a brewing problem.
If the coffee tastes pleasant but stronger than you want, try adding hot water in the cup before changing the brewing setup. This preserves your baseline and lets you decide how you prefer to serve it.
For a worked serving example, the published approximate three-cup yield of 130 ml would divide into two 65 ml portions. Adding an equal volume of hot water to each would make two approximately 130 ml drinks. That is serving arithmetic based on an approximate specification—not a claim that every brew produces exactly that amount. (bialetti.co.nz)
Use this sequence for the next brew:
| What you notice | First practical check |
|---|---|
| Burnt-tasting coffee after extended boiling | Remove promptly at the finish; verify that the burner was not at maximum |
| Restricted or unusually slow flow | Once completely cool, check for overly fine grounds, compression or blocked filters |
| Leakage at the screw joint | Once cool, check assembly, grounds on the rim and gasket condition |
| Steam from the safety valve | Stop heating; allow complete cooling before inspection |
| Uncertain flavor with otherwise normal operation | Repeat the baseline before changing several things |
The manufacturer links excessive heat and continued boiling with burnt flavor, and identifies grind, tamping, overfilling and sealing problems in its troubleshooting guidance. Persistent valve venting or malfunction requires stopping use and contacting the seller or manufacturer. (bialetti.co.nz)
Keep a short log: coffee, grind setting, actual basket dose, water amount, burner setting, finish time and taste. Choose one change for the next attempt. Do not change the fill limit or tamper with pressure components as a flavor adjustment.
7. Clean and inspect before the next brew
Once the pot is completely cool, disassemble it and remove the used grounds. For the standard aluminium Moka Express, Bialetti specifies hand washing with water, without detergents or abrasive materials, and no dishwasher. Rinse the components, remove coffee residue and dry everything thoroughly before storage. Do not preserve a coating of old coffee oils as “seasoning.” Bialetti’s cleaning guidance says accumulated oils and grease should be removed. (bialetti.com)
Before the next brew, check that:
- The gasket is intact and seated properly.
- Filter openings are clear.
- The funnel is not damaged or deformed.
- The valve is clean and unobstructed.
Follow the exact manual’s inspection and replacement instructions. The reference manual also specifies initial cleaning, a water-only cycle and at least three discarded coffee brews before normal drinking use. (bialetti.com)
The safety valve is a protective device, not a brewing control. Never cover it, wedge it shut, enlarge its opening or modify the pressure system. Perform only the maintenance described for your model, with the brewer cool. If safe operation is uncertain, stop using it rather than experimenting with another heated batch. (bialetti.com)