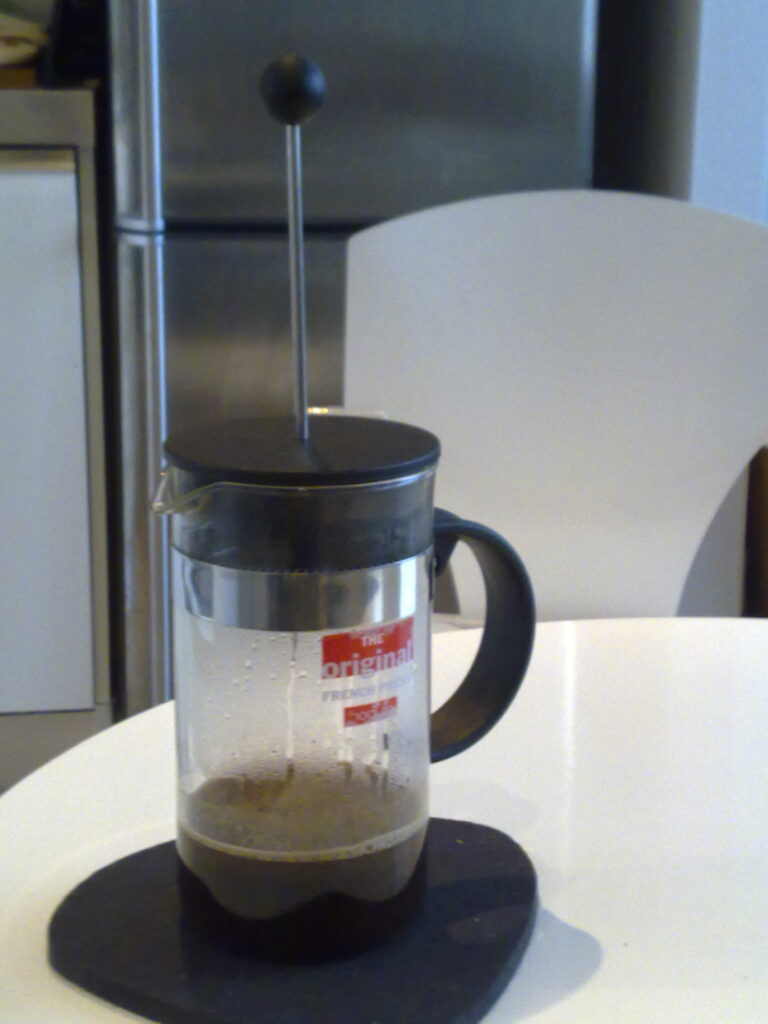
Quick answer: Start with 40 g of coarse-ground coffee and 600 g of water, a 1:15 coffee-to-water ratio. Use water around 96°C/205°F, steep for four minutes, then plunge slowly and decant carefully. This starting recipe combines established French press brewing guidance with manufacturer handling instructions; your brewer’s fill limits and safety directions take priority. (stumptowncoffee.com)
Plan on two modest servings, not two large travel mugs. A rough planning estimate is about 480 ml total before any extra sediment-rich coffee is left behind. Measure your actual output rather than treating that estimate as a guaranteed yield. (baristahustle.com)
1. Check usable capacity—not the “cup” count
Before measuring beans, decide what “for two” means in your kitchen. Two small breakfast servings and two oversized mugs require different batches.
A French press’s advertised cup count is not necessarily a count of US measuring cups or mugs. For example, Bodum’s instructions describe a serving as approximately 4 fluid ounces. Those same instructions require at least 2.5 cm/1 inch of space below the rim. Grounds also occupy space, so do not use brimful vessel capacity as your water target. (Bodum instructions (PDF))
For the 600 g-water recipe below, use a press that accommodates the coffee, water and required headspace. A nominal 1-liter vessel is a sensible candidate, but check its instructions rather than assuming every press has the same usable capacity.
Make these checks before heating water:
- Find the manufacturer’s maximum fill line or headspace requirement.
- Check for a minimum fill requirement, particularly on presses with specialized filters.
- Confirm that the filter assembly is correctly fitted.
- Inspect a glass beaker for damage; do not brew in cracked glass. ESPRO’s instructions specifically require stopping use if a crack appears. (ESPRO P3/P5 manual (PDF))
If your press cannot safely hold this batch, make a smaller one. Do not solve a capacity problem by filling closer to the rim.
2. Measure the recipe and estimate what reaches the mugs
Use this as a starting recipe, not a claim that one formula suits every coffee.
| Item | Starting amount or setting |
|---|---|
| Ground coffee | 40 g, approximately 1.4 oz by weight |
| Brewing water | 600 g, approximately 600 ml or 20 US fl oz |
| Coffee-to-water ratio | 1:15 by mass |
| Grind | Coarse, with a breadcrumb-like appearance |
| Water temperature | Around 96°C/205°F |
| Steep | Four minutes from first water contact |
| Serving plan | Two modest portions, measured after decanting |
The coarse grind, hot water and four-minute baseline follow established French press guidance. The 40:600 quantities are a rounded, two-serving starting point rather than a manufacturer-specific recipe. (stumptowncoffee.com)
Why doesn’t 600 g of water make 600 g of served coffee? Some brewed liquid remains with the grounds. Barista Hustle gives approximately 3 ml retained per gram of coffee as a normal planning figure for decanted immersion brewing. (baristahustle.com)
For this batch, the rough calculation is:
600 ml − (40 g × 3 ml/g) ≈ 480 ml
That suggests approximately 240 ml, or 8 US fl oz, per person, before leaving additional liquid behind to avoid sediment. This is a simplified estimate: dissolved coffee, pouring technique and brewer geometry affect the result. Weigh the empty serving carafe, then weigh it again after decanting to establish your own repeatable yield.
3. Brew a four-minute baseline batch
Gather the press, kettle, scale, timer, a plastic or wooden spoon, and a heat-safe serving carafe.
- Prepare the press. Check that it is clean and correctly assembled. If its care instructions permit, rinse it with hot water and discard the rinse.
- Weigh 40 g of coarse-ground coffee into the press. Tare the scale.
- Start the timer as you add water. Pour to 600 g, wetting all the grounds without exceeding the safe fill level.
- Stir gently. Use a plastic or wooden utensil rather than tapping a metal spoon against glass.
- Fit the lid with the plunger raised. Follow your model’s lid-position instructions and leave it undisturbed until four minutes.
- Move the press off the scale before plunging. Place it on a dry, stable, heat-resistant, nonslip surface. (stumptowncoffee.com)
Write down the coffee, grind setting and water temperature. Keep those fixed for the first few attempts so that a change in taste is easier to interpret.
Do not add an elaborate pouring pattern just to make the recipe seem more precise. Your first goal is a batch you can repeat: the same dose, water mass, temperature, wetting routine and steep time.

4. Plunge slowly; resistance is a warning, not a challenge
Hold the handle firmly, point the spout away from yourself, and lower the plunger straight down using gentle pressure. Bodum warns that excessive force can eject scalding liquid; its instructions also warn that fine grounds can clog the filter. (Bodum instructions (PDF))
If the plunger becomes difficult to move, stop. Do not lean on it, pump it or try to overcome resistance with speed. Keep the vessel stable and follow the blockage instructions for your exact model. ESPRO’s P3/P5 manual, for example, directs replacement of a filter that appears clogged or becomes very difficult to press. That is not a universal instruction for every French press design. (ESPRO P3/P5 manual (PDF))
Treat plunging as separation, not squeezing. The practical aim is to lower the filter safely—not to extract every last drop by compressing the grounds.
For the next batch, check that you used the specified coarse grind and that the filter is clean. Never compensate for an unsuitable grind by pressing harder.
5. Decant once for a less-gritty, more even serving
A conventional French press mesh holds back larger grounds, but smaller particles can pass through. That is why correct plunging does not guarantee a sediment-free cup. (baristahustle.com)
After plunging, pour slowly into a preheated serving carafe. Avoid shaking or swirling the press, and stop before the sediment-rich tail becomes the main part of the stream. Leaving a little coffee behind is a deliberate texture choice, not a brewing failure.
Barista Hustle recommends slow decanting into a separate vessel so that grounds stay behind. It also reports that the upper and lower layers of a static immersion brew can differ in strength; once decanted, the coffee can be mixed without stirring up the grounds. (baristahustle.com)
Give the carafe a gentle stir, then divide the coffee between the two mugs. This is a useful approach when one person’s cup otherwise tastes different from the other’s.
Serve or transfer the drinkable coffee rather than using an ordinary press as a holding pot. Stumptown likewise recommends moving coffee not immediately served into a carafe. (stumptowncoffee.com)

6. Choose careful decanting or optional paper filtration
Start with careful decanting if you like French press texture and want no extra disposable filter. Try paper filtration if the remaining particles bother you.
| Approach | Main advantage | Trade-off |
|---|---|---|
| Metal mesh plus careful decanting | Keeps the familiar press-coffee texture without paper | Some fine particles may remain |
| Paper filtration | Provides an additional filtration step and changes the cup’s texture | Requires paper, extra handling and disposal |
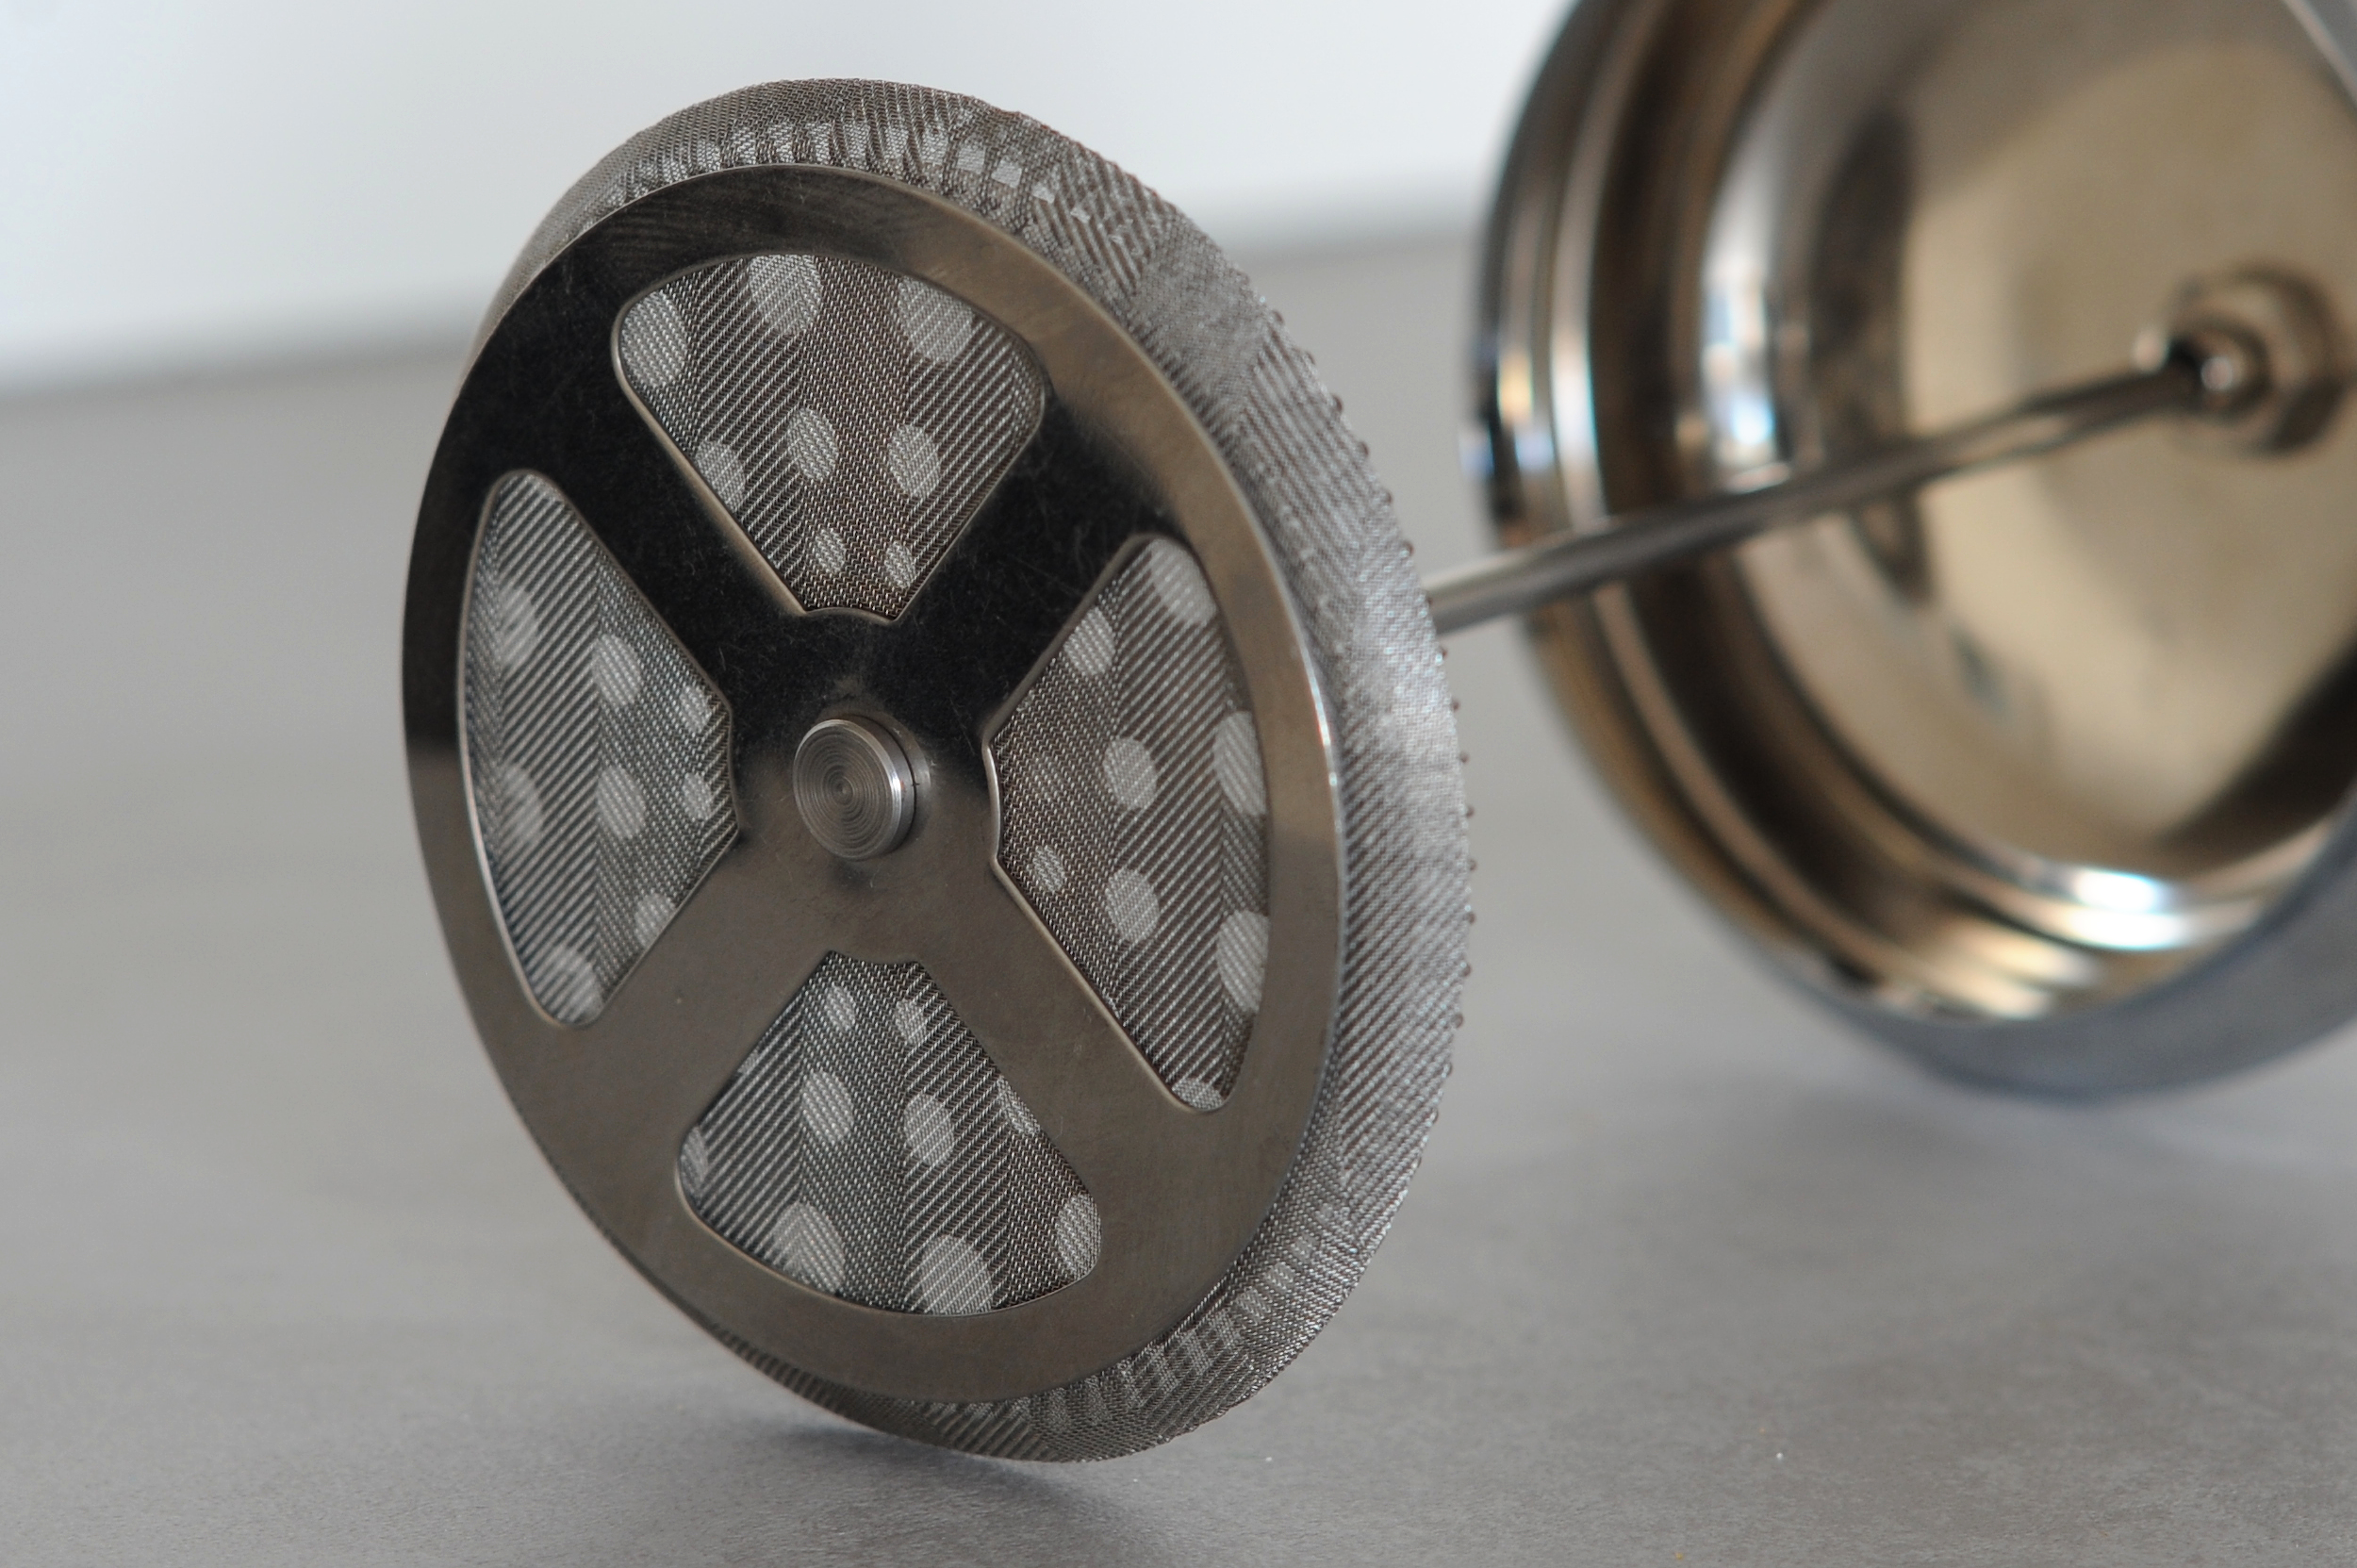
French press mesh can pass substantial fine material, while filtration performance depends on the filter medium and its construction. Paper filtration can also change the oils reaching the drink; ESPRO offers compatible paper inserts specifically for readers seeking a more pour-over-like cup. (baristahustle.com)
If you already own a stable pour-over dripper and matching papers, an optional workflow is to decant the brewed coffee through a rinsed paper filter into the serving carafe. Keep the grounds in the press; this is filtering an already brewed drink, not making another extraction recipe. Pour in small additions and allow room for drainage.
Expect the drainage behavior to depend on the paper and the particles reaching it—filter construction affects flow. Do not squeeze the paper to force a stalled batch through. (coffeeadastra.com)
Do not improvise a paper insert inside a standard plunger. Use an internal paper filter only where the manufacturer explicitly supports it.
7. Troubleshoot one problem at a time—and clean the filter
Separate taste, texture and quantity in your notes. “Bad coffee” is too broad to guide the next attempt.
- Too gritty: Repeat the recipe with a slower decant and an earlier stopping point. If that still misses your preference, compare a paper-filtered serving.
- Too little coffee: Record the served mass. Scale the coffee and water together only if the larger batch fits safely.
- Too strong or too weak: Try a small ratio adjustment on the next batch. Keep the grind, temperature and steep unchanged so you can judge that adjustment.
- Unequal mugs: Decant into one carafe, mix gently, then divide.
- Hard to plunge: Stop and investigate; do not treat this as a taste adjustment. (Bodum instructions (PDF))
After brewing, clean the filter rather than merely rinsing the visible grounds from the beaker. Follow the manufacturer’s directions for disassembly and washing. ESPRO specifically warns that filters may clog without cleaning inside and out after each use. (ESPRO P3/P5 manual (PDF))
For your next comparison, choose just one question: Did careful decanting improve the texture? Did paper filtration suit us better? Was the serving size sufficient? Keep the rest of the recipe unchanged. A short, consistent record is more useful than changing every variable at once.