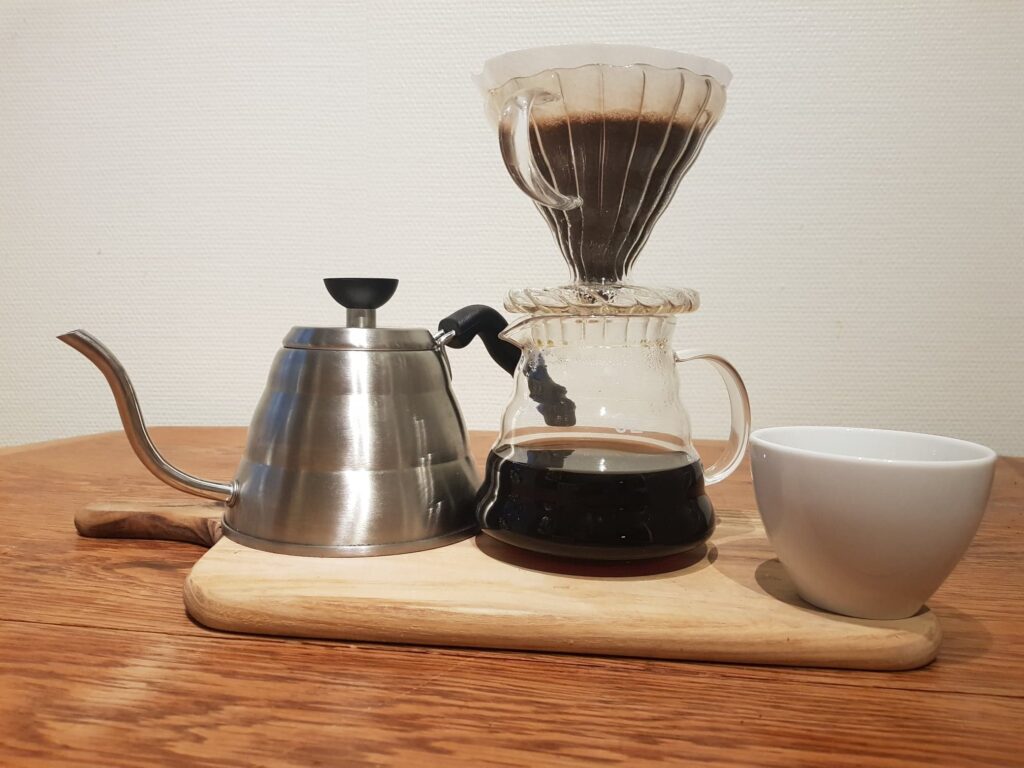
Quick answer: Start with 15 g coffee and 250 g brewing water, a ratio of about 1:16.7. Use a medium-fine grind and water at 94°C / 201°F. Wet the grounds with 45 g water, wait until 0:30, then pour gently until the scale reads 250 g total. Aim for roughly 2:30–3:00 from the first pour, but judge the cup by taste rather than the stopwatch alone. This is a starting recipe, not a universal optimum. (hario.co.uk)
1. Use a V60 and matching paper—not just any cone
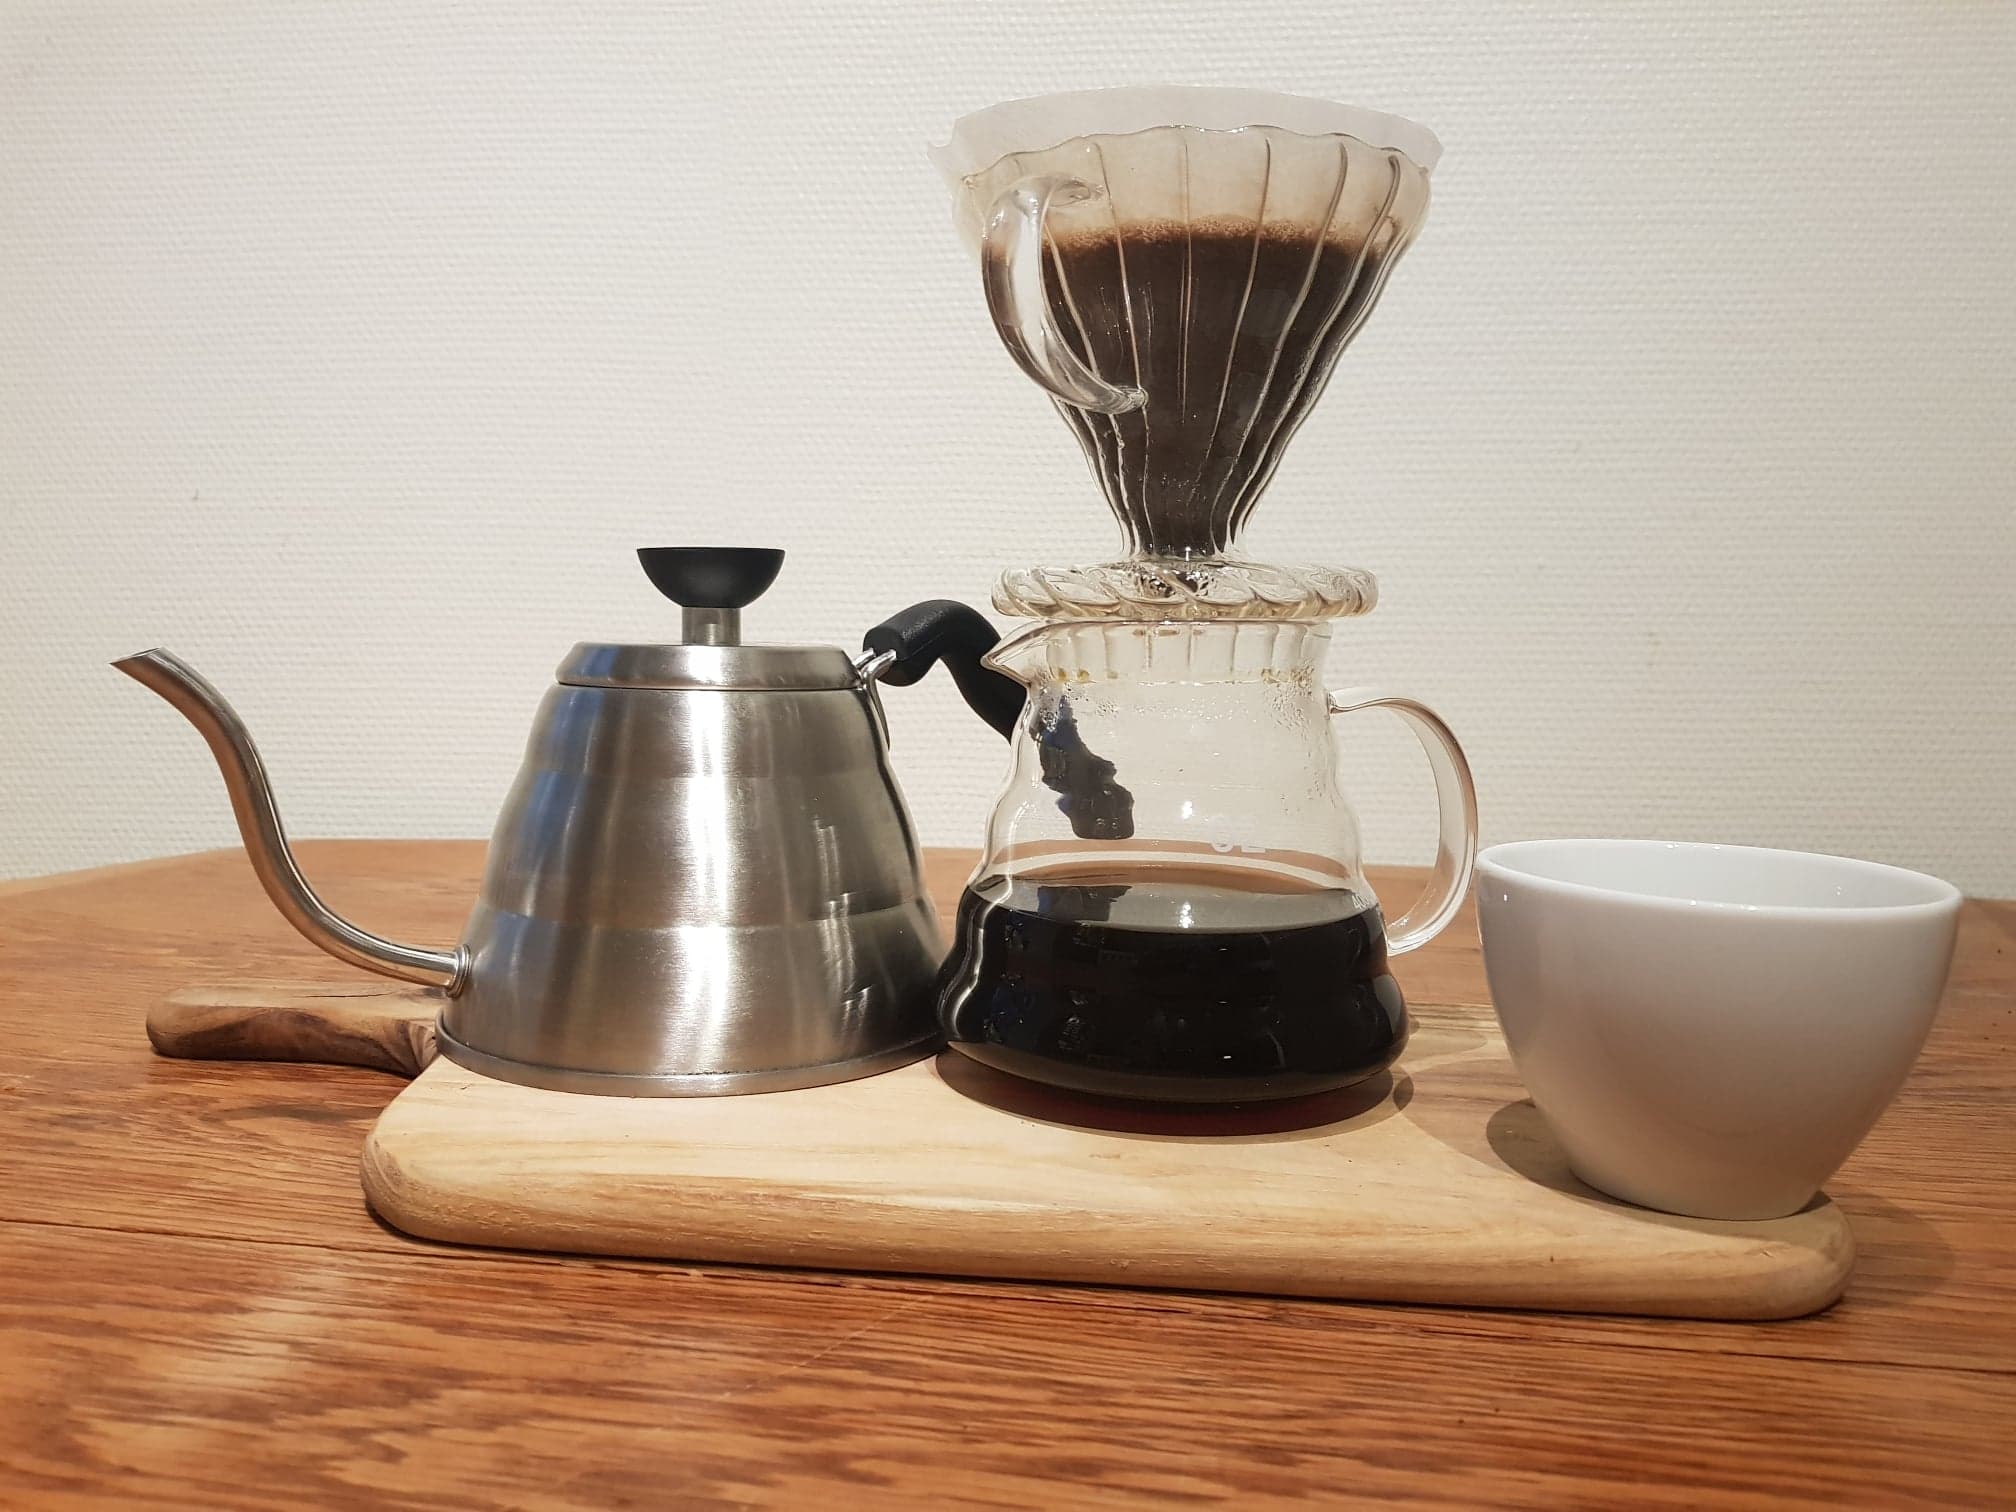
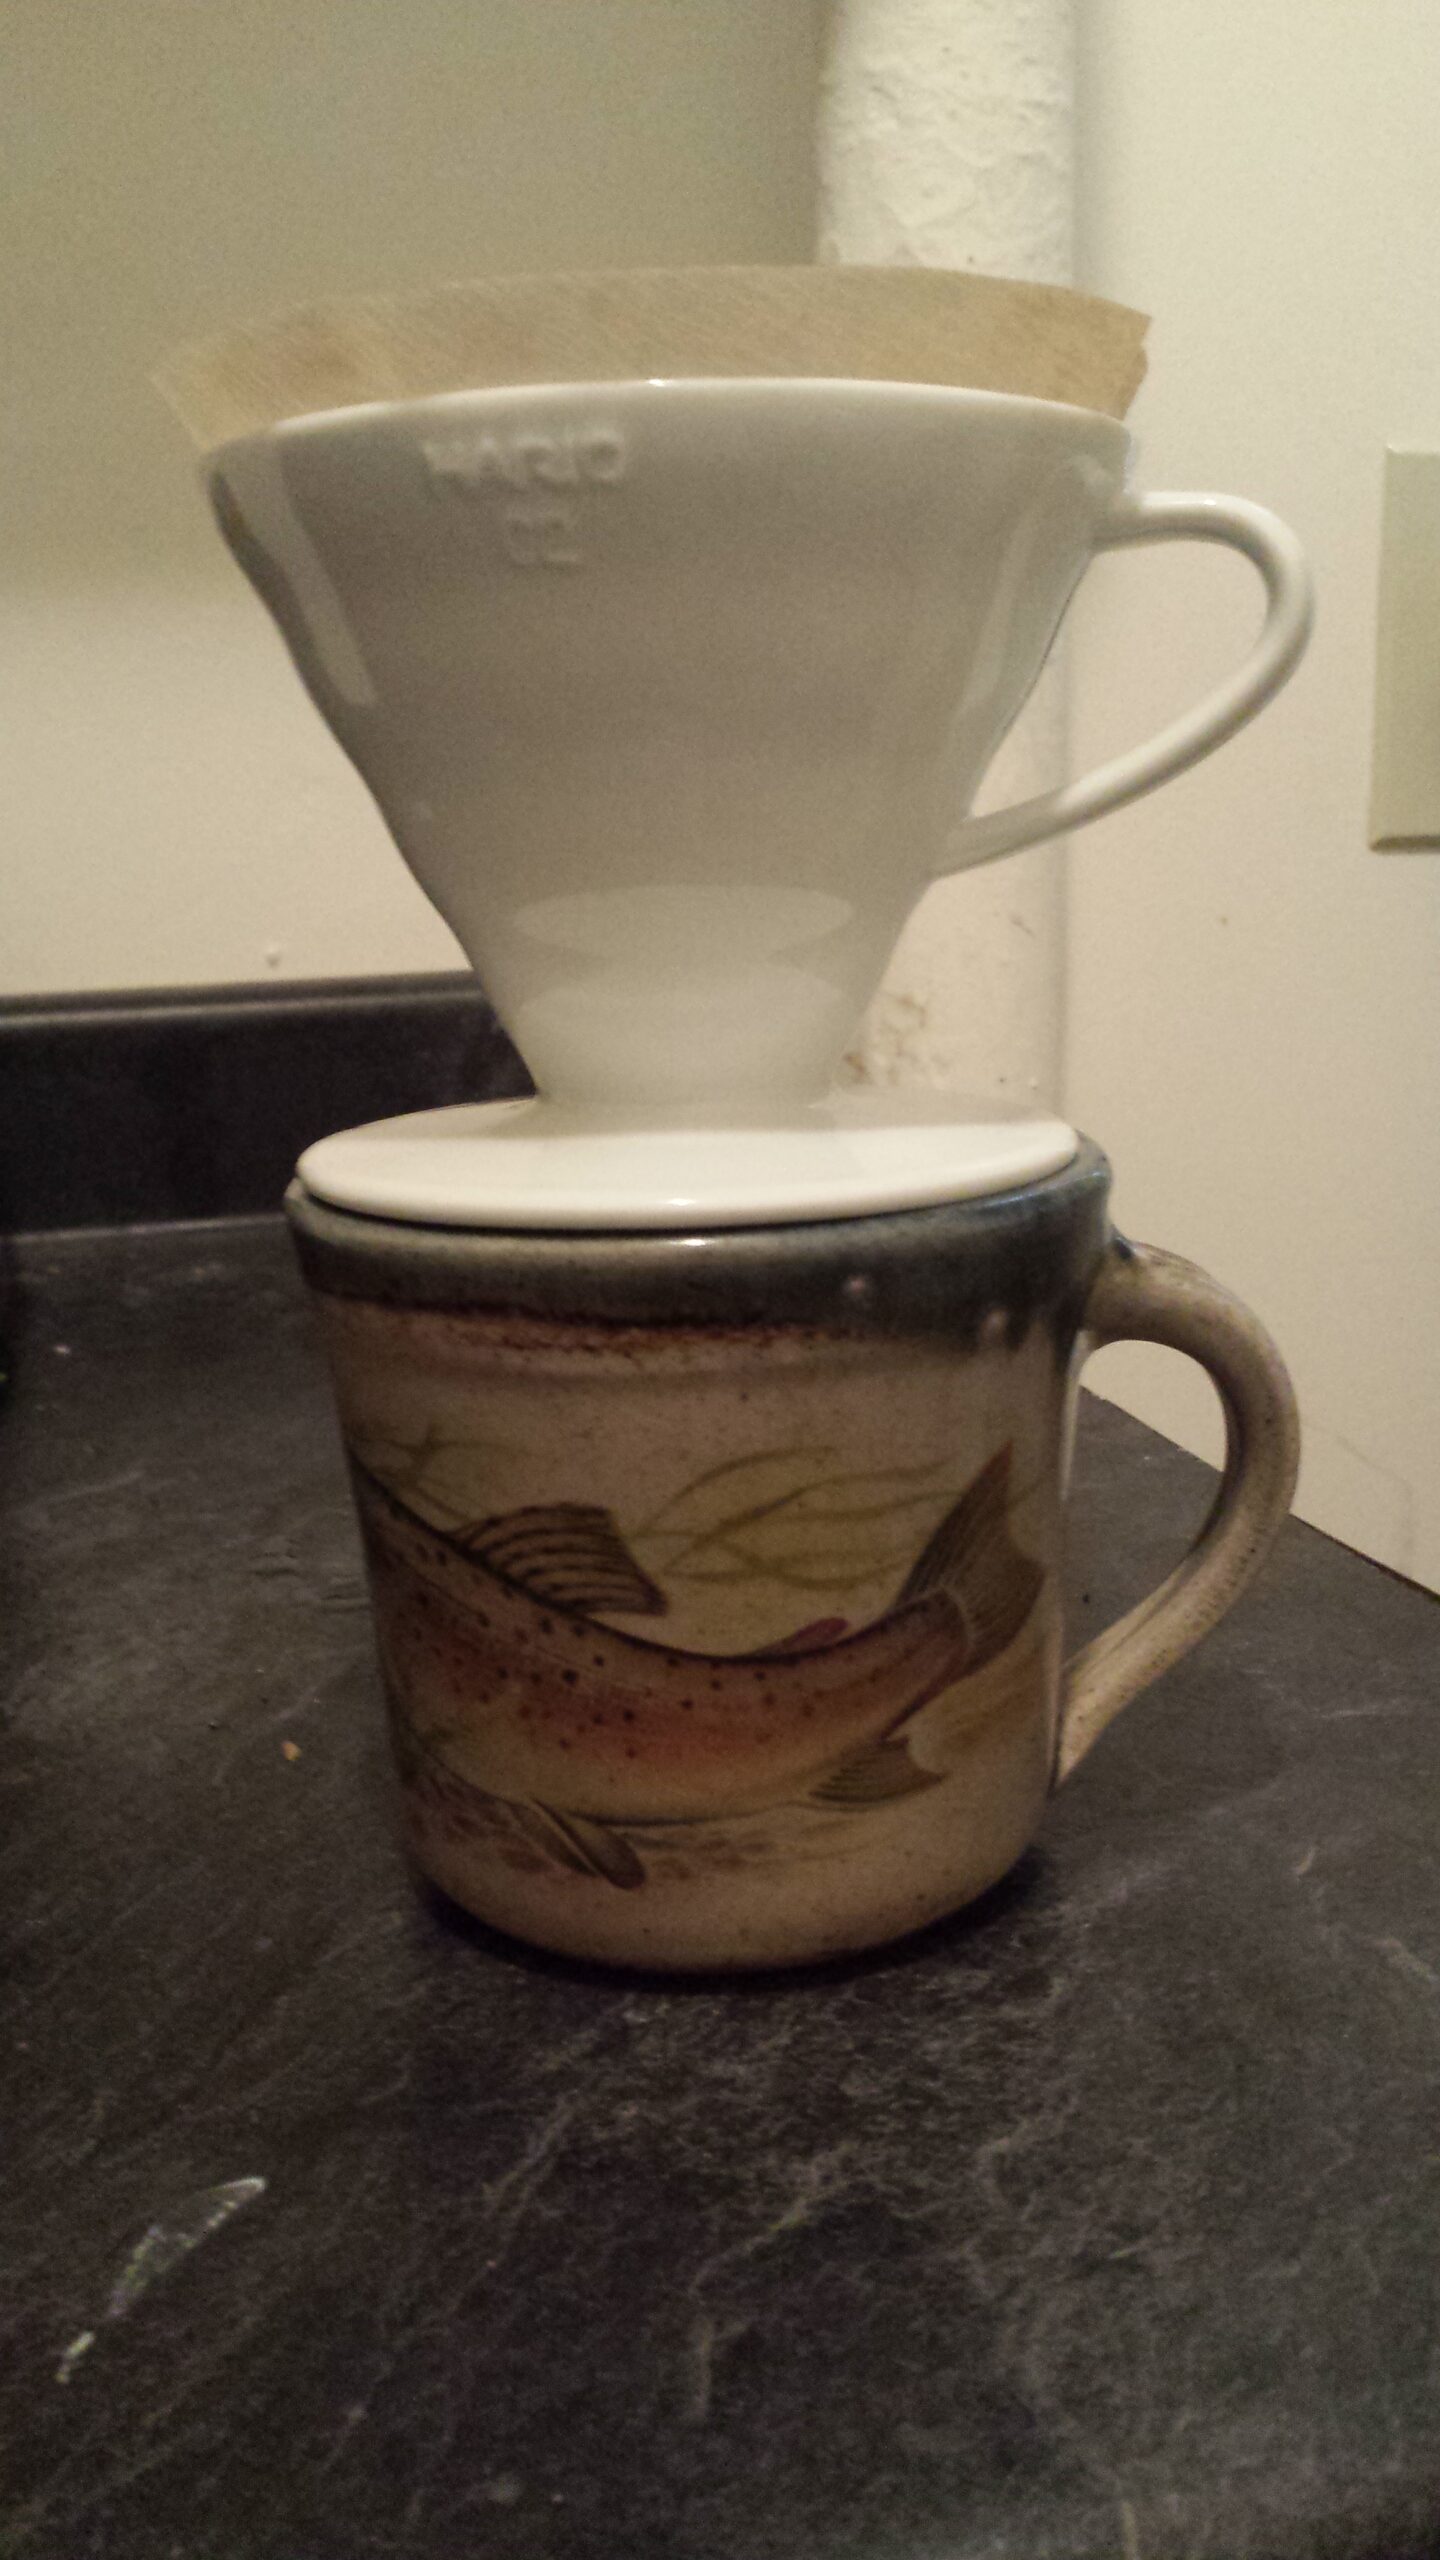
This recipe is written for a Hario V60, with the size 02 used as the reference setup. You need matching V60 paper filters, a stable mug, a scale, a timer and a kettle. A grinder lets you adjust the recipe; if buying ground coffee, ask for a V60 or medium-fine filter grind. Hario’s own one-mug guide uses a size 02 dripper with 15 g coffee and 250 g water. (hario.co.uk)
The V60’s shape matters. It has a cone-shaped bed, spiral ribs and one large outlet. The ribs create space between the paper and dripper for air to move, while the large opening makes pouring speed an important part of brewing. A recipe developed for this geometry should not be assumed to behave identically in a flat-bottom brewer or a cone with small restricted outlets. (webstaurantstore.com)
For your first few attempts, use the same dripper, paper, coffee and water source. Treat those as fixed parts of the recipe rather than changing equipment whenever a cup disappoints.
A gooseneck kettle is helpful, but the practical requirement here is a controlled stream. Before brewing, check that you can pour gently without suddenly dumping water into the cone.

2. Set the recipe before heating the water
Use these starting settings:
| Variable | Starting point |
|---|---|
| Ground coffee | 15 g |
| Water poured over the coffee | 250 g |
| Coffee-to-water ratio | 1:16.7, approximately |
| Grind | Medium-fine |
| Water temperature | 94°C / 201°F |
| Initial wetting pour | 45 g |
| Bloom pause | Continue pouring at 0:30 |
| Total time | Approximately 2:30–3:00 |
The coffee dose, total water, temperature and timing sit within Hario’s published V60 guidance. The 45 g wetting pour makes the otherwise less-specific instruction to wet all the grounds easy to repeat. (hario.co.uk)
“Medium-fine” is a starting description, not a transferable grinder setting. Use your grinder’s filter or pour-over range initially, then record the setting. Hario recommends moving coarser if water drains too slowly; very fine particles can also obstruct paper-filter flow. (hario.co.uk)
Measure in grams rather than coffee scoops for this recipe. The useful arithmetic is:
250 ÷ 15 = 16.7
That means each gram of dry coffee receives approximately 16.7 g of brewing water. The 250 g includes the bloom water. It does not include water used to rinse the filter.
3. Prepare the filter and zero the scale correctly
Fold the paper’s seam, open it into a cone and seat it inside the dripper. Hario’s instructions specify folding along the seams before adding coffee. (webstaurantstore.com)
Then follow this preparation sequence:
- Put the dripper on your mug.
- Rinse the paper with hot water, wetting it throughout.
- Discard the rinse water from the mug.
- Add 15 g ground coffee.
- Gently shake the dripper to level the grounds.
- Put the complete setup on the scale and tare it to zero.
Rinsing is part of Hario’s preparation guidance: it warms the brewer and mug and helps remove papery flavor. Emptying that water before brewing is equally important. (hario.co.uk)
Your scale should now show zero with the mug, dripper, wet filter and dry grounds all in place. From this point onward, its reading tracks the water you add.
Before starting, choose a safe place to put the hot dripper when brewing finishes. Also check that the mug has enough room for the finished drink and that the dripper sits securely.
4. Brew with a bloom and one gentle main pour
You do not need alternating spirals, repeated stirring or several precisely timed pulses. This version uses one wetting pour followed by one main pour, consistent with the simple structure of Hario’s guide. (hario.co.uk)
At 0:00: start the timer and pour to 45 g.
Move the stream across the coffee so there are no obvious dry patches. Stop pouring and leave the grounds until the timer reaches 0:30.
At 0:30: begin the main pour.
Pour slowly in small, relaxed circles over the coffee. Avoid directing the stream onto exposed paper around the edge. Continue until the scale reads 250 g. These are cumulative weights: you are adding 205 g more, not another 250 g. (webstaurantstore.com)
Keep the kettle spout reasonably close to the slurry without touching it. Avoid an aggressive, splashing stream: excessive agitation can move fine particles toward the filter and contribute to clogging. (baratza.com)
If the water approaches the paper’s rim, pause and let the level fall before continuing. Preventing an overflow matters more than maintaining an uninterrupted pour.
Let the water drain.
Record the finish when the standing water has disappeared and dripping has slowed substantially. Use that same endpoint on later brews. Remove the dripper, gently stir the drink and taste it once it is comfortable to sip.
Use 2:30–3:00 as an initial reference, not an instruction to remove a still-full brewer at exactly three minutes. A faster brew that tastes good does not need “correcting” merely to match a target time. (baratza.com)

5. Expect less coffee in the mug than water poured
A recipe using 250 g water does not produce 250 g of finished drink. Some liquid remains with the wet grounds.
Barista Hustle’s published response on pour-over measurement gives approximately 2 g liquid retained per gram of dry coffee, or slightly less, as a typical working estimate. It recommends measuring several brews to establish the retention of your own setup. See its pour-over retention guidance.
For this recipe, a rough planning calculation is:
- Dry coffee: 15 g
- Estimated retained liquid: 15 × 2 = 30 g
- Approximate beverage mass: 250 − 30 = 220 g
Expect roughly 220 g of coffee, around 7½ US fluid ounces as a loose serving-size equivalent. That is an estimate, not a promised yield.
To check your actual output, weigh the empty mug beforehand. After brewing, remove the dripper and weigh the filled mug; subtract the empty mug’s mass.
This also explains why a large mug can look underfilled even when you followed the recipe correctly. If you want a larger serving later, scale coffee and water together, then establish a new timing reference rather than assuming the larger brew will drain identically.
6. Change the variable that matches the problem
Do not treat “slow,” “sour” and “strong” as the same fault. Start with the relevant adjustment below, keeping the rest of the recipe unchanged.
Slow drawdown
If water lingers much longer than your usual brew, first check whether you poured harder or added extra stirring. On the next attempt, use the original gentle technique. If slow drainage persists, try a slightly coarser grind. Fine particles can block filter pores, so a stalled brew is not simply proof that you need to pour faster. (baratza.com)
If you recently changed filter papers, note that too. Paper choice can affect flow; compare brews using the same paper before blaming the grinder. (baratza.com)
Sour and unsatisfying
When the cup tastes unpleasantly sour, especially if it also seems thin or underwhelming, try one small step finer while keeping the dose, water and pouring routine fixed. Barista Hustle’s Coffee Compass identifies greater extraction as a useful direction for that combination of flavors and lists finer grinding as one route. This is a troubleshooting hypothesis, not a measurement of your extraction. (baristahustle.com)
Do not keep grinding finer if drainage is already stalling. Investigate flow first.
Too intense, but otherwise pleasant
Try 14 g coffee with the same 250 g water on the next brew: approximately 1:17.9. This changes the brewing ratio without changing your water target. Barista Hustle recommends fixing water mass and adjusting coffee dose when exploring ratio changes. (baristahustle.com)
Bitter or drying
If unpleasant bitterness or dryness is the main issue, a small move coarser is a reasonable next experiment. That is a different adjustment from reducing coffee solely because the drink feels too concentrated. (baristahustle.com)
7. Keep a small brew log and avoid false fixes
Record only what you need to reproduce the cup:
- Coffee and filter used
- Coffee dose and water mass
- Grinder setting and temperature
- Total time
- A short taste note
- One planned change
For example, a hypothetical entry might read:
15 g / 250 g; 94°C; current grinder setting; 2:10; unpleasantly sour and thin. Next brew: one small step finer, everything else unchanged.
The finer setting is a proposed experiment—not a guaranteed improvement or a claimed test result. Compare the next cup by taste before making another adjustment. (baristahustle.com)
Avoid three common mistakes: adding 250 g after the bloom, leaving rinse water in the mug, and chasing the clock despite enjoying the coffee. The first changes your ratio; the second adds unmeasured water; the third prioritizes a reference number over the result. (hario.co.uk)
Your goal is a routine you can repeat and adjust deliberately: the same dose, the same total water, a well-wetted bed and a gentle pour. Once that produces a cup you like, keep the recipe—even if someone else’s preferred V60 method looks more elaborate.